How to insert the Review Certificate into your website?
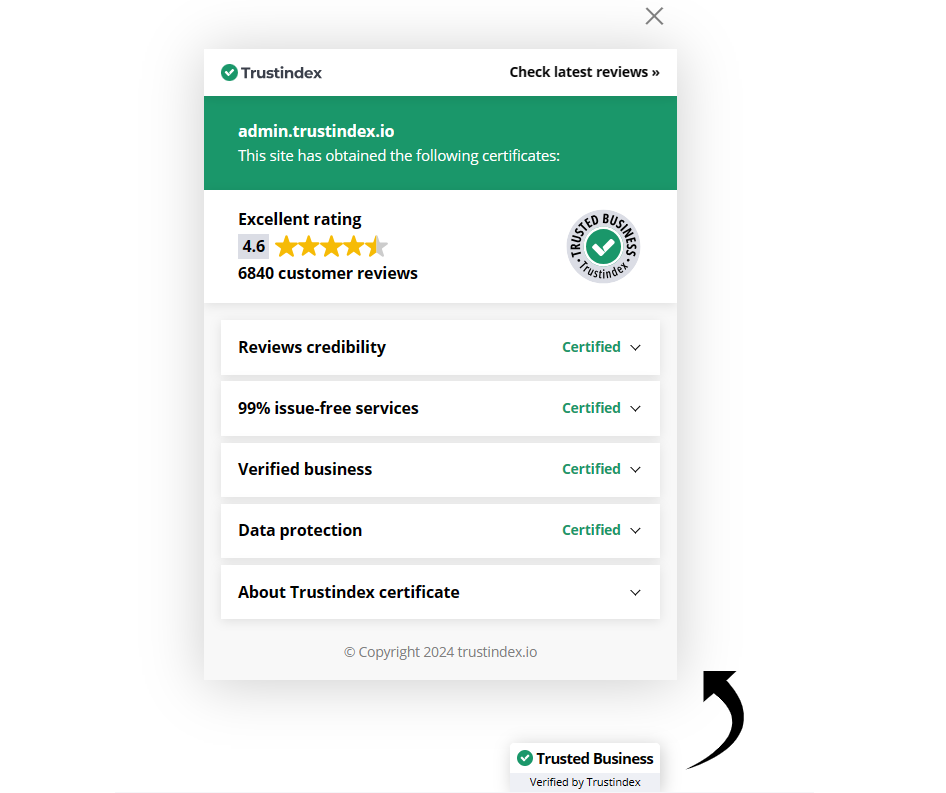
A review certificate is a document or digital badge that serves as proof of a product, service, or business’s positive reviews and ratings.
These certificates are valuable for businesses because they offer credibility and trustworthiness, especially to potential customers who rely on reviews and ratings when making purchasing decisions.
6 Main Benefits of the Review Certificate
- Authentication: Review certificates are issued by review platforms or organizations that authenticate the reviews to ensure they are genuine and from real customers. This authentication process helps in building trust among potential buyers.
- Positive Reputation: A review certificate showcases positive feedback and high ratings, indicating that the business or product has a good reputation among its customers.
- Credibility and Trust: Businesses can display review certificates on their websites, social media profiles, or physical locations to demonstrate credibility and trustworthiness. Customers are more likely to trust a business with positive reviews.
- Marketing Tool: Review certificates are used as marketing tools to attract new customers. They are often displayed prominently on websites and marketing materials to highlight the business’s good reputation.
- Customer Confidence: When potential customers see a review certificate, they are more likely to have confidence in the quality of the product or service they are considering purchasing.
- Continuous Monitoring: To maintain the validity of the certificate, review platforms often monitor businesses continuously. If a business’s reputation declines, they might lose the certificate.
Insert the Review Certificate with a CMS Website Builder
Step 1
Access Your CMS:
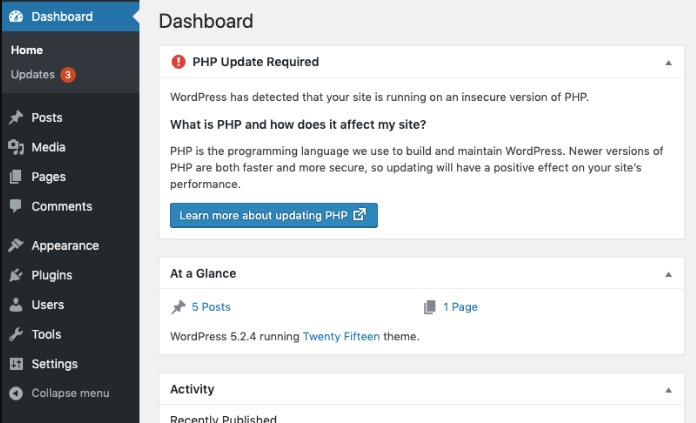
- If you’re using a CMS like WordPress, Shopify, or Wix, log in to your dashboard.
Step 2
Edit the Header or Theme Settings:
- Look for settings related to your website’s header or theme. This could be in a “Customize” section or a “Theme Settings” area, depending on your CMS.
Step 3
Insert the Review Certificate Code:

- In the header or theme settings, there should be a section where you can add custom code to the
<head>tag. Paste your review certificate code there.
Step 4
Save and Publish:
- Save your changes and publish your website. The review certificate code will now be included in the
<head>tag of your website.
Insert the Review Certificate using Google Tag Manager
Step 1
Log in to Google Tag Manager:
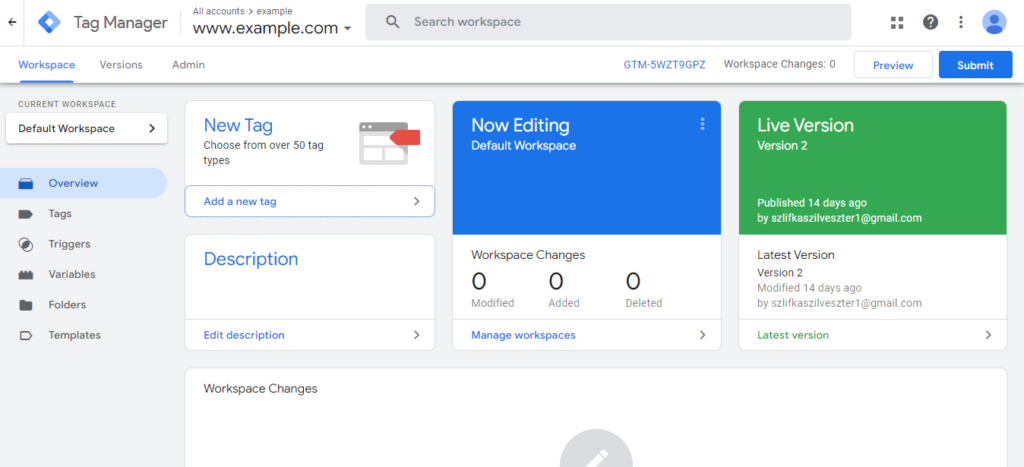
- Go to Google Tag Manager.
- Select your account and container.
Step 2
Create a New Tag:
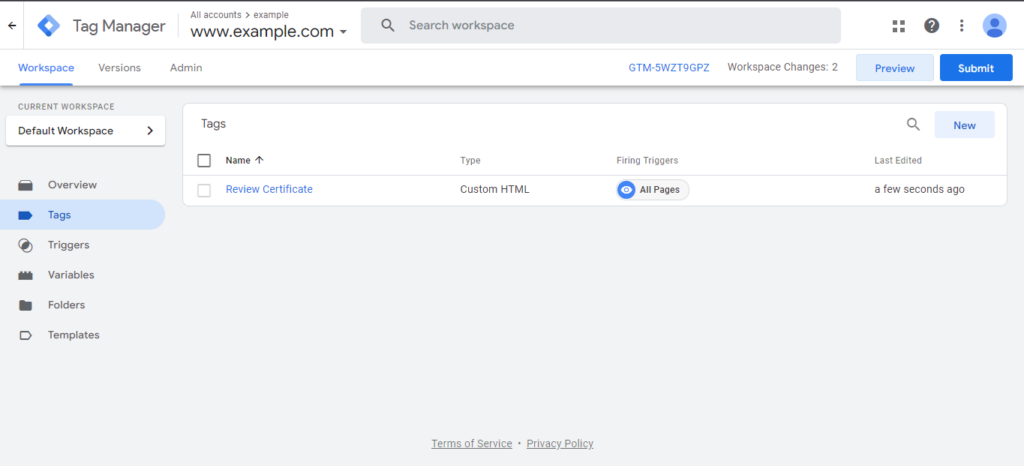
- In your container, click on “Tags” in the left sidebar.
- Click on the “+ New” button to create a new tag.
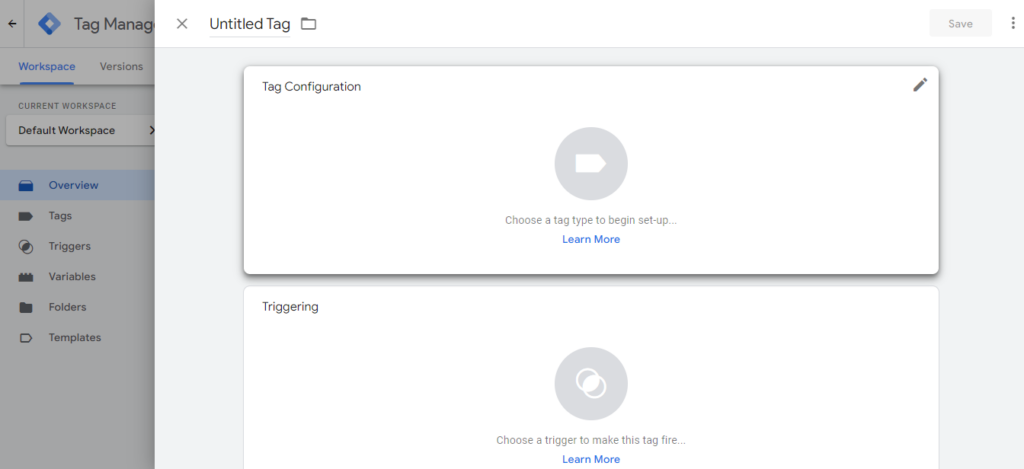
Step 3
Configure Your Tag:
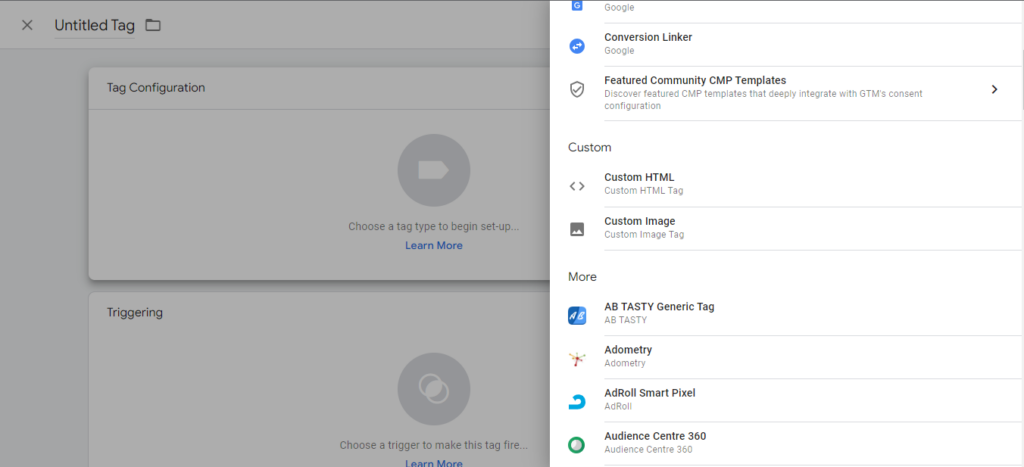
- Name your tag something descriptive like “Review Certificate.”
- Click on the tag configuration box and choose a suitable tag type. If you’re inserting HTML or JavaScript code, select “Custom HTML” or “Custom JavaScript,” respectively.
Step 4
Insert Review Certificate Code:
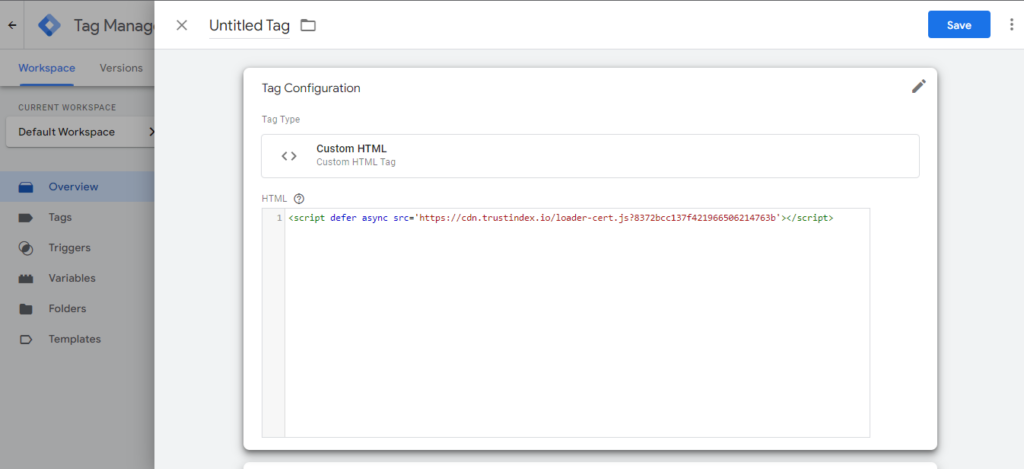
- Paste the review certificate code you obtained from Trustindex into the HTML or JavaScript box, depending on the tag type you selected.
Step 5
Trigger the Tag:
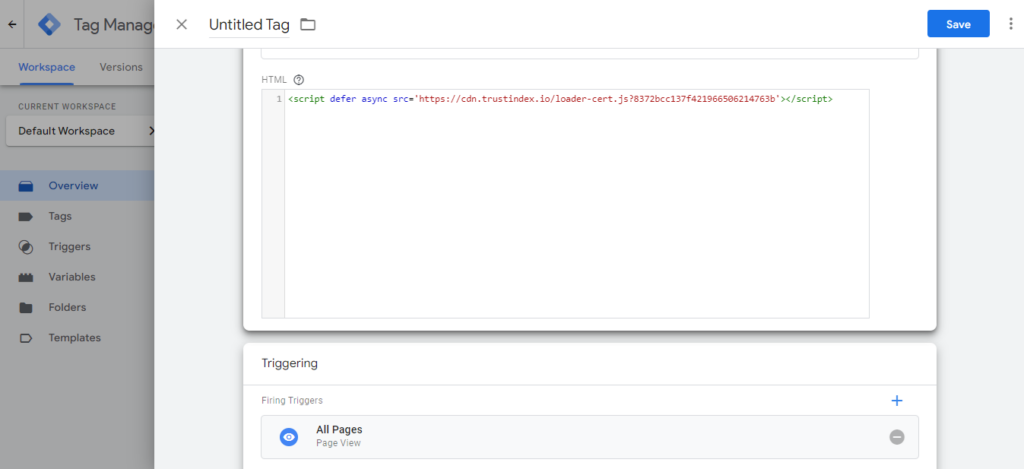
- Click on the “Triggering” box.
- Choose when to fire the tag. This could be on all pages (
All Pagestrigger) or specific pages/events based on your requirements.
Step 6
Save and Publish:
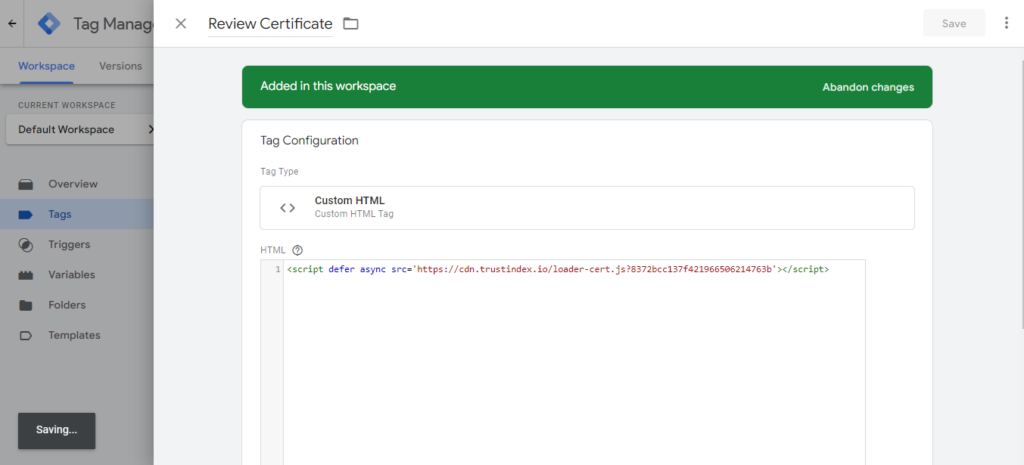
- After configuring your tag and trigger, click on the “Save” button to save your tag configuration.
- Click on “Submit” in the upper right corner of the Google Tag Manager interface to publish your changes to your live website.
Step 7
Test Your Setup:
- Before relying on your changes being live, use Google Tag Manager’s Preview mode to test whether the tag fires correctly on the intended pages.
- Once you’ve confirmed everything is working as expected, publish the changes.
Insert the Certificate with Popular Website Builders
WordPress

1. Within a Post or Page:
When creating or editing a post or page in WordPress, you can directly insert HTML code using the following steps:
- Create a New Post/Page or Edit an Existing One: Log in to your WordPress admin dashboard. Go to “Posts” -> “Add New” or “Pages” -> “Add New” to create a new post or page. Alternatively, edit an existing post or page.
- Switch to the HTML Editor: In the WordPress editor, you have two tabs – “Visual” and “Text” (or “HTML”). Click on the “Text” or “HTML” tab. This allows you to enter raw HTML code.
- Insert Your HTML Code: Paste your custom HTML code directly into the editor in the “Text” or “HTML” tab.
- Switch Back to Visual Editor (Optional): If you want to go back to the visual editor, click on the “Visual” tab.
- Publish or Update: After inserting the HTML code, click “Publish” for a new post/page or “Update” for an existing one to save your changes.
2. Using Custom HTML Block (Block Editor):
If you’re using the new WordPress block editor (Gutenberg), you can add a Custom HTML block:
- Create or Edit a Post/Page: Follow steps 1 and 2 from the previous method.
- Add a Custom HTML Block: In the block editor, click the “+” icon to add a new block. Search for “Custom HTML” and select the “Custom HTML” block.
- Insert Your HTML Code: Paste your custom HTML code into the Custom HTML block.
- Publish or Update: Click “Publish” for a new post/page or “Update” for an existing one to save your changes.
WooCommerce

Adding HTML to Product Descriptions:
- Login to Your WordPress Dashboard: Access your WordPress admin area.
- Edit a Product: Go to WooCommerce -> Products and edit the product where you want to add custom HTML code.
- Switch to the Text Editor: In the product editor, switch to the “Text” tab instead of the “Visual” tab. This allows you to input raw HTML.
- Insert Your HTML Code: Insert your custom HTML code directly into the editor.
- Update the Product: After adding your HTML code, click the “Update” button to save your changes.
Shopify:

1. Adding HTML to Product Descriptions:
- Login to Your Shopify Admin: Access your Shopify admin panel.
- Edit a Product: Go to Products and edit the product where you want to add custom HTML code.
- HTML Editor: In the product editor, there is usually a section for descriptions. Here, you can directly input HTML code. Click on the HTML editor option to switch to raw HTML mode.
- Insert Your HTML Code: Add your custom HTML code within the description editor.
- Save the Product: After adding your HTML code, save the product to apply the changes.
2. Adding HTML to Shopify Theme:
- Login to Your Shopify Admin: Access your Shopify admin area.
- Theme Customization: Go to Online Store -> Themes. Click on the “Customize” button for the theme you want to edit.
- Edit HTML/CSS: In the theme customization interface, there should be an option to edit HTML/CSS. Look for a section like “Edit Code” or “Theme Settings.”
- Insert Your HTML Code: Inside the code editor, you can add your custom HTML code where you want it to appear on your website. Be careful and ensure you are editing the correct files.
- Save and Publish: After adding your HTML code, save your changes and publish the theme to make the code live.
Wix:

- Login to your Wix account: Go to Wix.com and log in to your account.
- Access the Editor: Click on “Manage Site” next to the site you want to edit. This will take you to the Wix Editor.
- Add an HTML Element: In the Editor, click on the “+” icon, then select “More” and choose “HTML iframe”. Drag this element to the position on your page where you want to insert the HTML code.
- Insert Your HTML Code: Double-click on the HTML element to open its settings. You can paste your custom HTML code into the provided text box.
- Apply and Publish: After pasting your code, click “Apply” and then “Publish” to make your changes live.
Squarespace:

- Login to your Squarespace account: Log in to your Squarespace account.
- Access the Editor: Select the website you want to edit, then click on “Edit Site”. This will open the Squarespace Editor.
- Add a Code Block: In the Squarespace Editor, click on the “+” icon, then choose “Code” from the menu. Select “Code Block” to add it to your page.
- Insert Your HTML Code: Click on the newly added Code Block to open its settings. Paste your custom HTML code into the block.
- Save and Publish: After adding the code, save your changes and click “Publish” to make the changes live.
Weebly:

- Login to your Weebly account: Log in to your Weebly account.
- Access the Editor: Select the website you want to edit, then click on “Edit Site” to access the Weebly Editor.
- Add an Embed Code Element: In the Editor, click on “Elements” in the left sidebar, then drag the “Embed Code” element to your desired location on the page.
- Insert Your HTML Code: Double-click on the Embed Code element to open its settings. Paste your custom HTML code into the provided text box.
- Save and Publish: After adding the code, save your changes and click “Publish” to make the changes live.
For more information on How to Insert your Widget’s code into your Website, visit our guide:
If you have any questions, please contact support: support@trustindex.io (attach a screenshot of the problem and the URL of the website).
FAQ
Please click here to get more information about the Review Certifications by Trustindex.
Add the code to every page of your site to display the review certificate. We recommend adding the code before the closing tag in your header template file.
If you meet our 5-point criteria, we will issue you a certificate that you can upload to your website.
The criteria are: Authenticity of reviews, 99% problem-free orders, Verification of contact details, Verification of business data, and Data protection. For more details, click here.
Yes, subscribers of Trustindex can issue their own certification free of charge.
You can customize the certificate with your business information, badge type, alignment and more settings when configuring it.
Yes, the certificate looks awesome in mobile view as well.