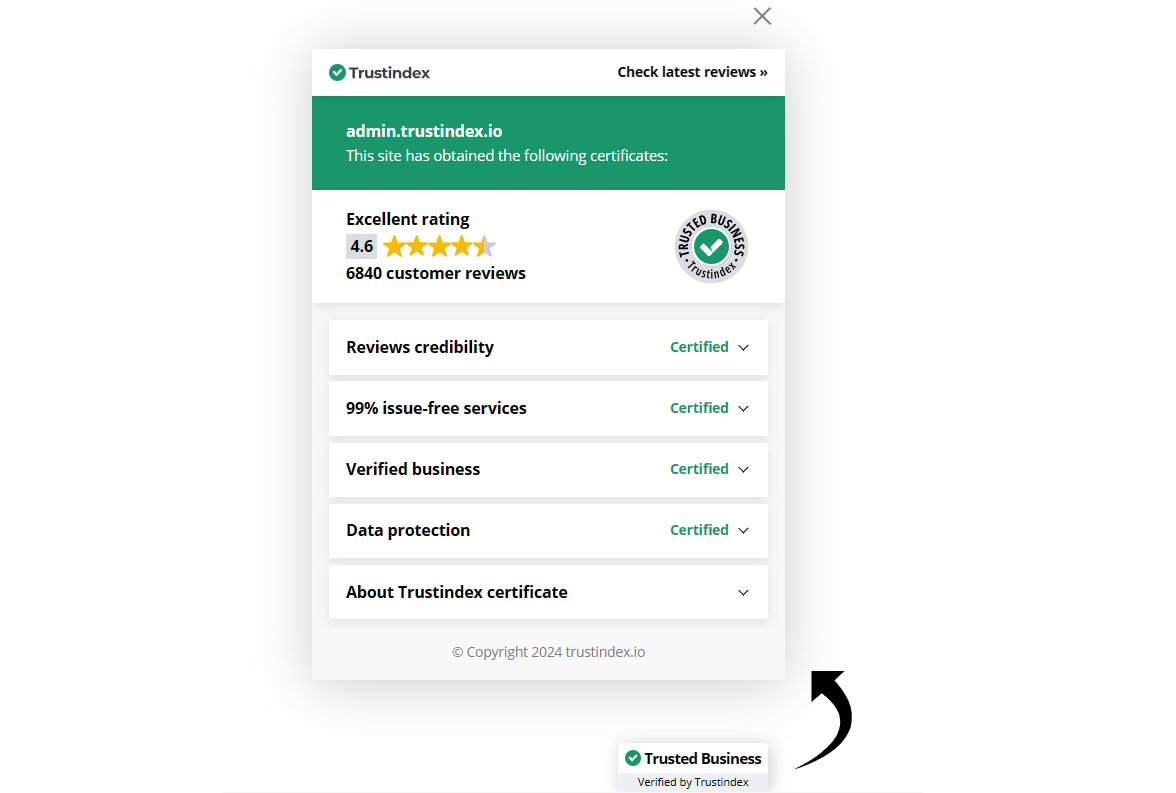
How does the Review Certificate work?
Trustindex verifies your business details & reviews and gives you a stylish, non-distractive Review Certificate widget for it, which you can upload to your website. This way your website visitors feel more safe browsing and shopping on your site.
With the Trustindex review certificate, you can increase your sales by an additional 8%, and it is proven by hundreds of our customers.
Only the best companies can get their Review Certificate:
- those who have a rating score of 4.5 or above
- based on reviews from the past 12 months.
This is basically to ensure that customers are satisfied with the services and products of the companies.
To obtain the certification, Trustindex has set up a 5-point criteria system for websites.
To read about the 5 criteria click here.
How to create the Review Certificate
Overall, creating a Trustindex Review Certification is really simple.
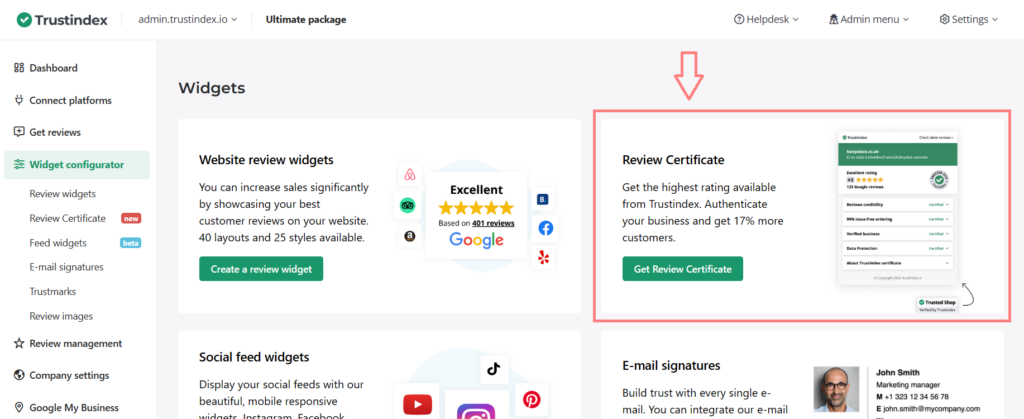
Step 1
You need to have an active subscription on Trustindex. After that, you can select the review certificate in the widget configurator.
Step 2
Make sure to add real and accurate information regarding your company.
- Brand name: for easier identification
- Description: a shot summary of your company
- Phone for customer contact: the telephone number where your customers can reach you
- Email: the email address for your company
- Company name
- Some additional company information: date of funding and your employee number
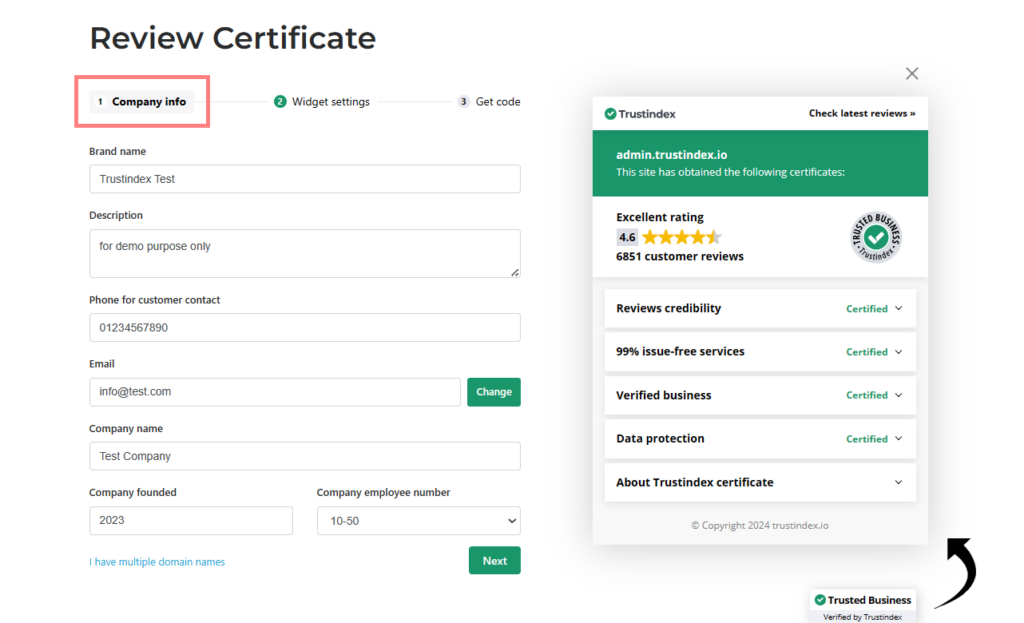
If you have multiple domain names for your business, click the ‘I have multiple domain names’ button at the bottom. In case your company has multiple websites on different domains, you can add your domain names to a list by clicking this. This way, you can embed the review certificate widget on all your websites.
Step 3
You can customize the widget by modifying the settings.
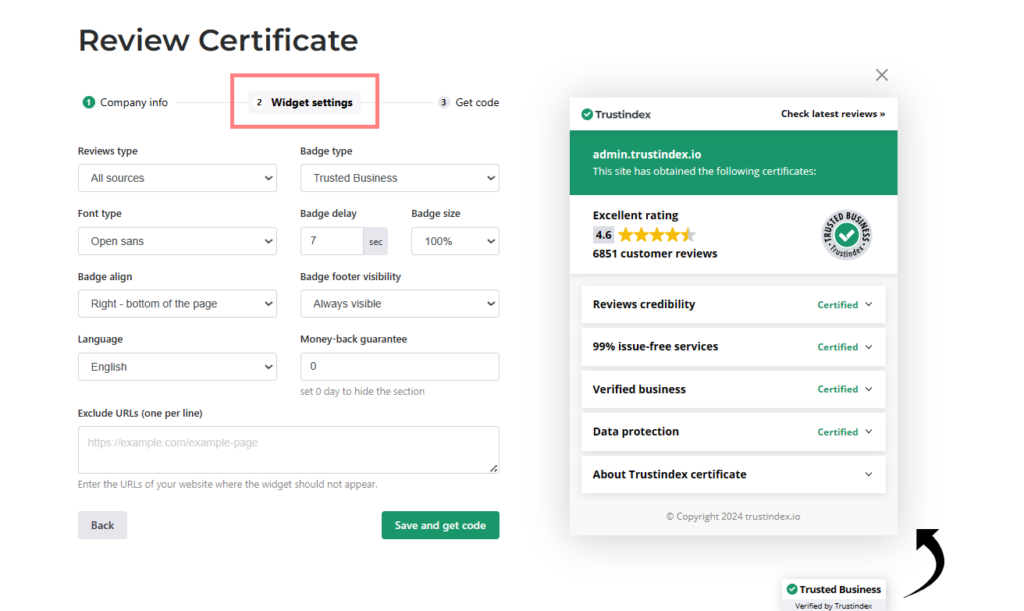
- Reviews type: choose which of your review platforms should be included in the rating for the certificate
- Font type: decide which font the certificate should use
- Badge align: choose what part of your website the certificate should appear on
- Language: choose what language the certificate uses
- Badge type: this is where you can choose what badge should be displayed on your certificate
- Badge delay: the certificate badge appears after this amount of time
- Badge footer visibility: whether the badge should always be displayed or just on hoover
- Money-back guarantee: if your business has a money-back guarantee, you can add the amount of days for your warranty here. If you do not have this, add 0 and the section will be hidden.
Extra feature: Exclude URLs
It’s important to maintain a clean and focused user experience on your website. Here you have the option to enter the URLs of your website where the widget should not appear.
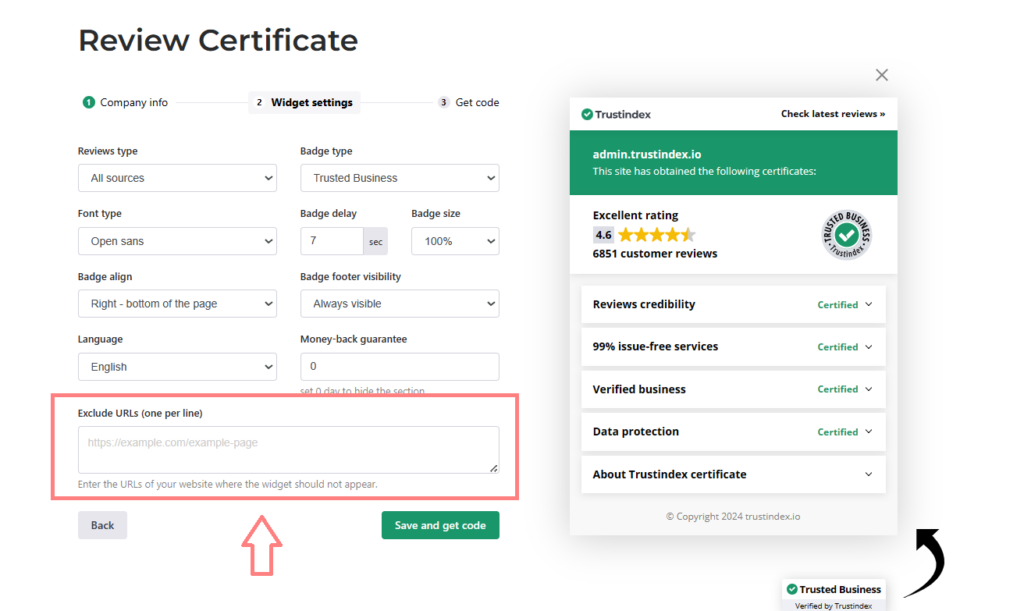
This is especially useful for excluding the Certificate on crucial points of your site, such as:
- pages for the checkout process
- login or account creation pages
- contact form pages
- error message pages
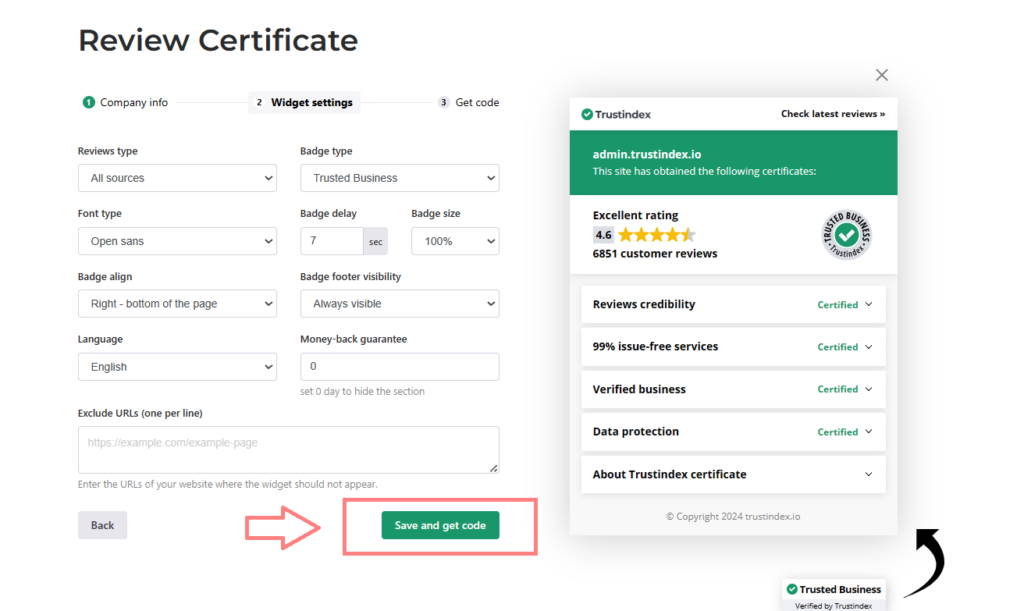
Step 4
Finally, when you’re done customizing, click on the ‘Save and get code’ button.
Click on ‘Copy to clipboard’ and you’re ready to add it to your website!
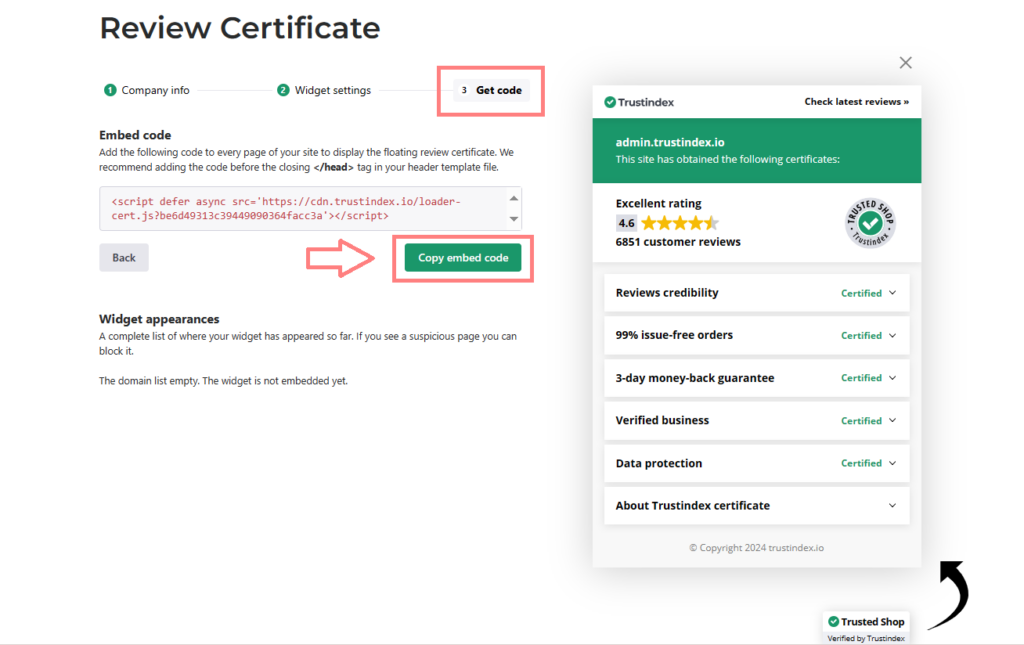
Make sure to add it before the closing </head> tag, but we have some extra help here about inserting:
The best Review Certificate settings
1) The badge type
It’s important to choose the badge type that best describes your business.
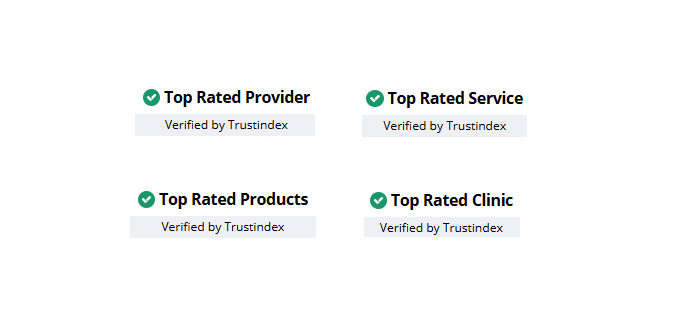
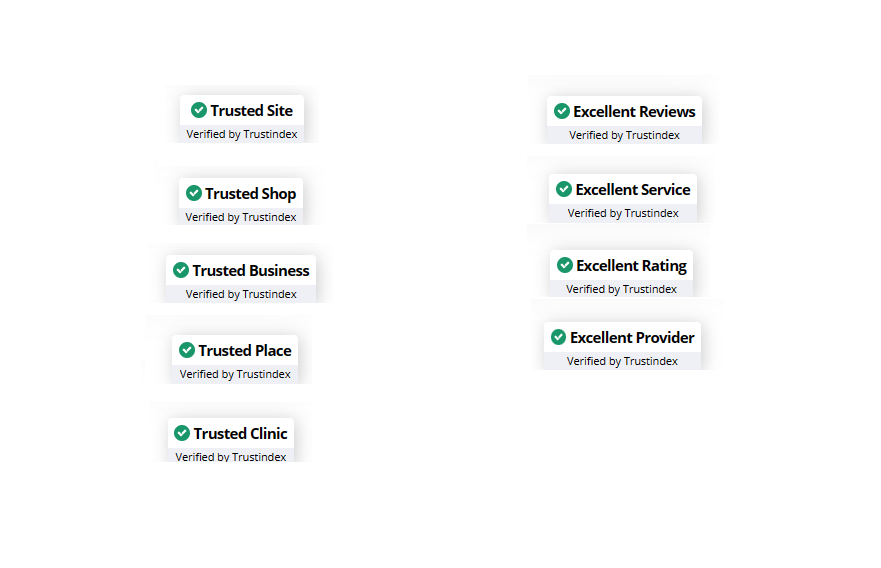
We offer 13 different badges currently:
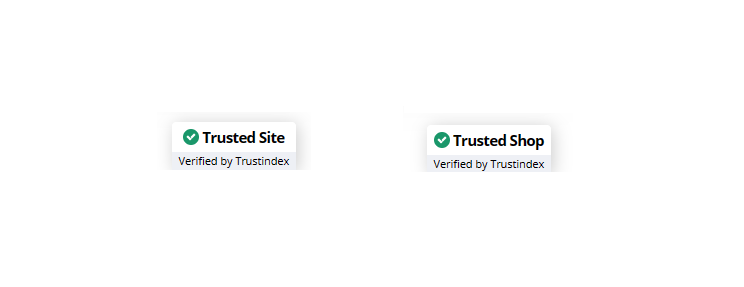
- Trusted Site
- Trusted Shop
- Trusted Place
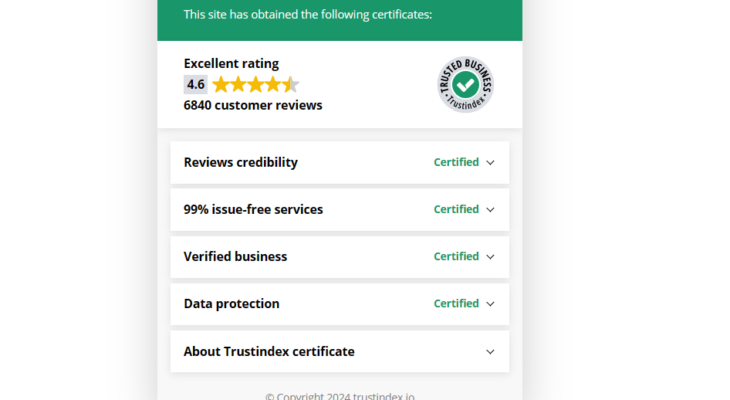
- Trusted Business
- Trusted Clinic
- Excellent Provider
- Excellent Reviews
- Excellent Service
- Excellent Rating
- Top Rated Clinic
- Top Rated Products
- Top Rated Provider
- Top Rated Service
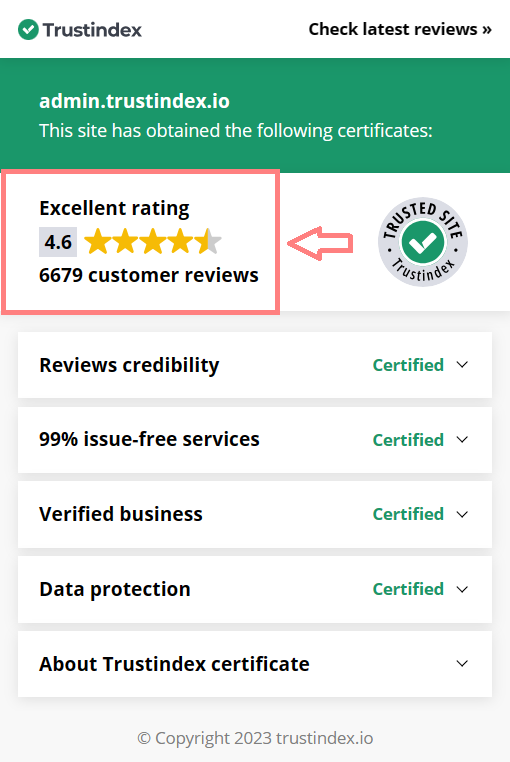
This badge will be displayed at the bottom of your webpage and will be clickable so the review certificate pops up.
The most popular certificates are the Trusted Site and Trusted Shop badges – these are currently used by over 5500 companies worldwide.
However, we provide a wide range of badges to cater to all business types – clinics, service providers, and more.
2) The review source
After deciding on a badge, make sure to choose the right review source for your certificate.
We recommend opting for the platform you have the highest rating on or the All Reviews source, since that displays an aggregated rating of all your platforms.
Top 4 advantages of the Review Certificate
Using a Review Certificate can offer several benefits for businesses and individuals alike.
Here are some reasons why you should consider using a Review Certificate:
1) Builds Trust and Credibility: The review certificate builds customer trust on each page of the website without distracting the visitor from browsing or shopping.
2) Verified for Trust: The certificate summarizes the rating score, collects the main business & contact details, and Trustindex checks and verifies the credibility of these.
3) Higher trust = higher sales: Visitors are most concerned about online fraud because they are most afraid of unknown websites where they have not yet made a purchase. Trustindex helps you increase trust and sales with the review certificate.
4) Boosts SEO and Search Rankings: Positive reviews and user-generated content can improve your website’s search engine optimization (SEO). Search engines value fresh and relevant content, and reviews can help increase the amount of unique content & time spent on your site.
Free workshop for more success
If you’d like to get to know more about Trustindex’s other features, then sign up for our free, 20-minute workshop where our Expert will show you:
- Why Google Reviews are important for your business success
- How to rank higher on Google Maps and search results with the help of reviews
- How to manage your online reputation with the Trustindex system
- Modern, automatic solutions for review management
- And how to collect 15+ new reviews every day.


Tom Tamer says:
Thank you very much for the interesting article. While the certificate is a free and interesting way to show potential customers the trustworthess of my site….is it availlable in different languages??? Spanish for example? I seem to only be able to get it in English which is not helpful for my visitors in Mexico. Cheers, Tom
Tom says:
Hello Tom! It is available on many languages ( spanish as well )… furthermore: you can set auto language detect!
http://www.greatpanoramatreks.com says:
Good something better then nothing. Thanks for your great articles